How to remove tarnish from your silver jewelry, and prevent it too

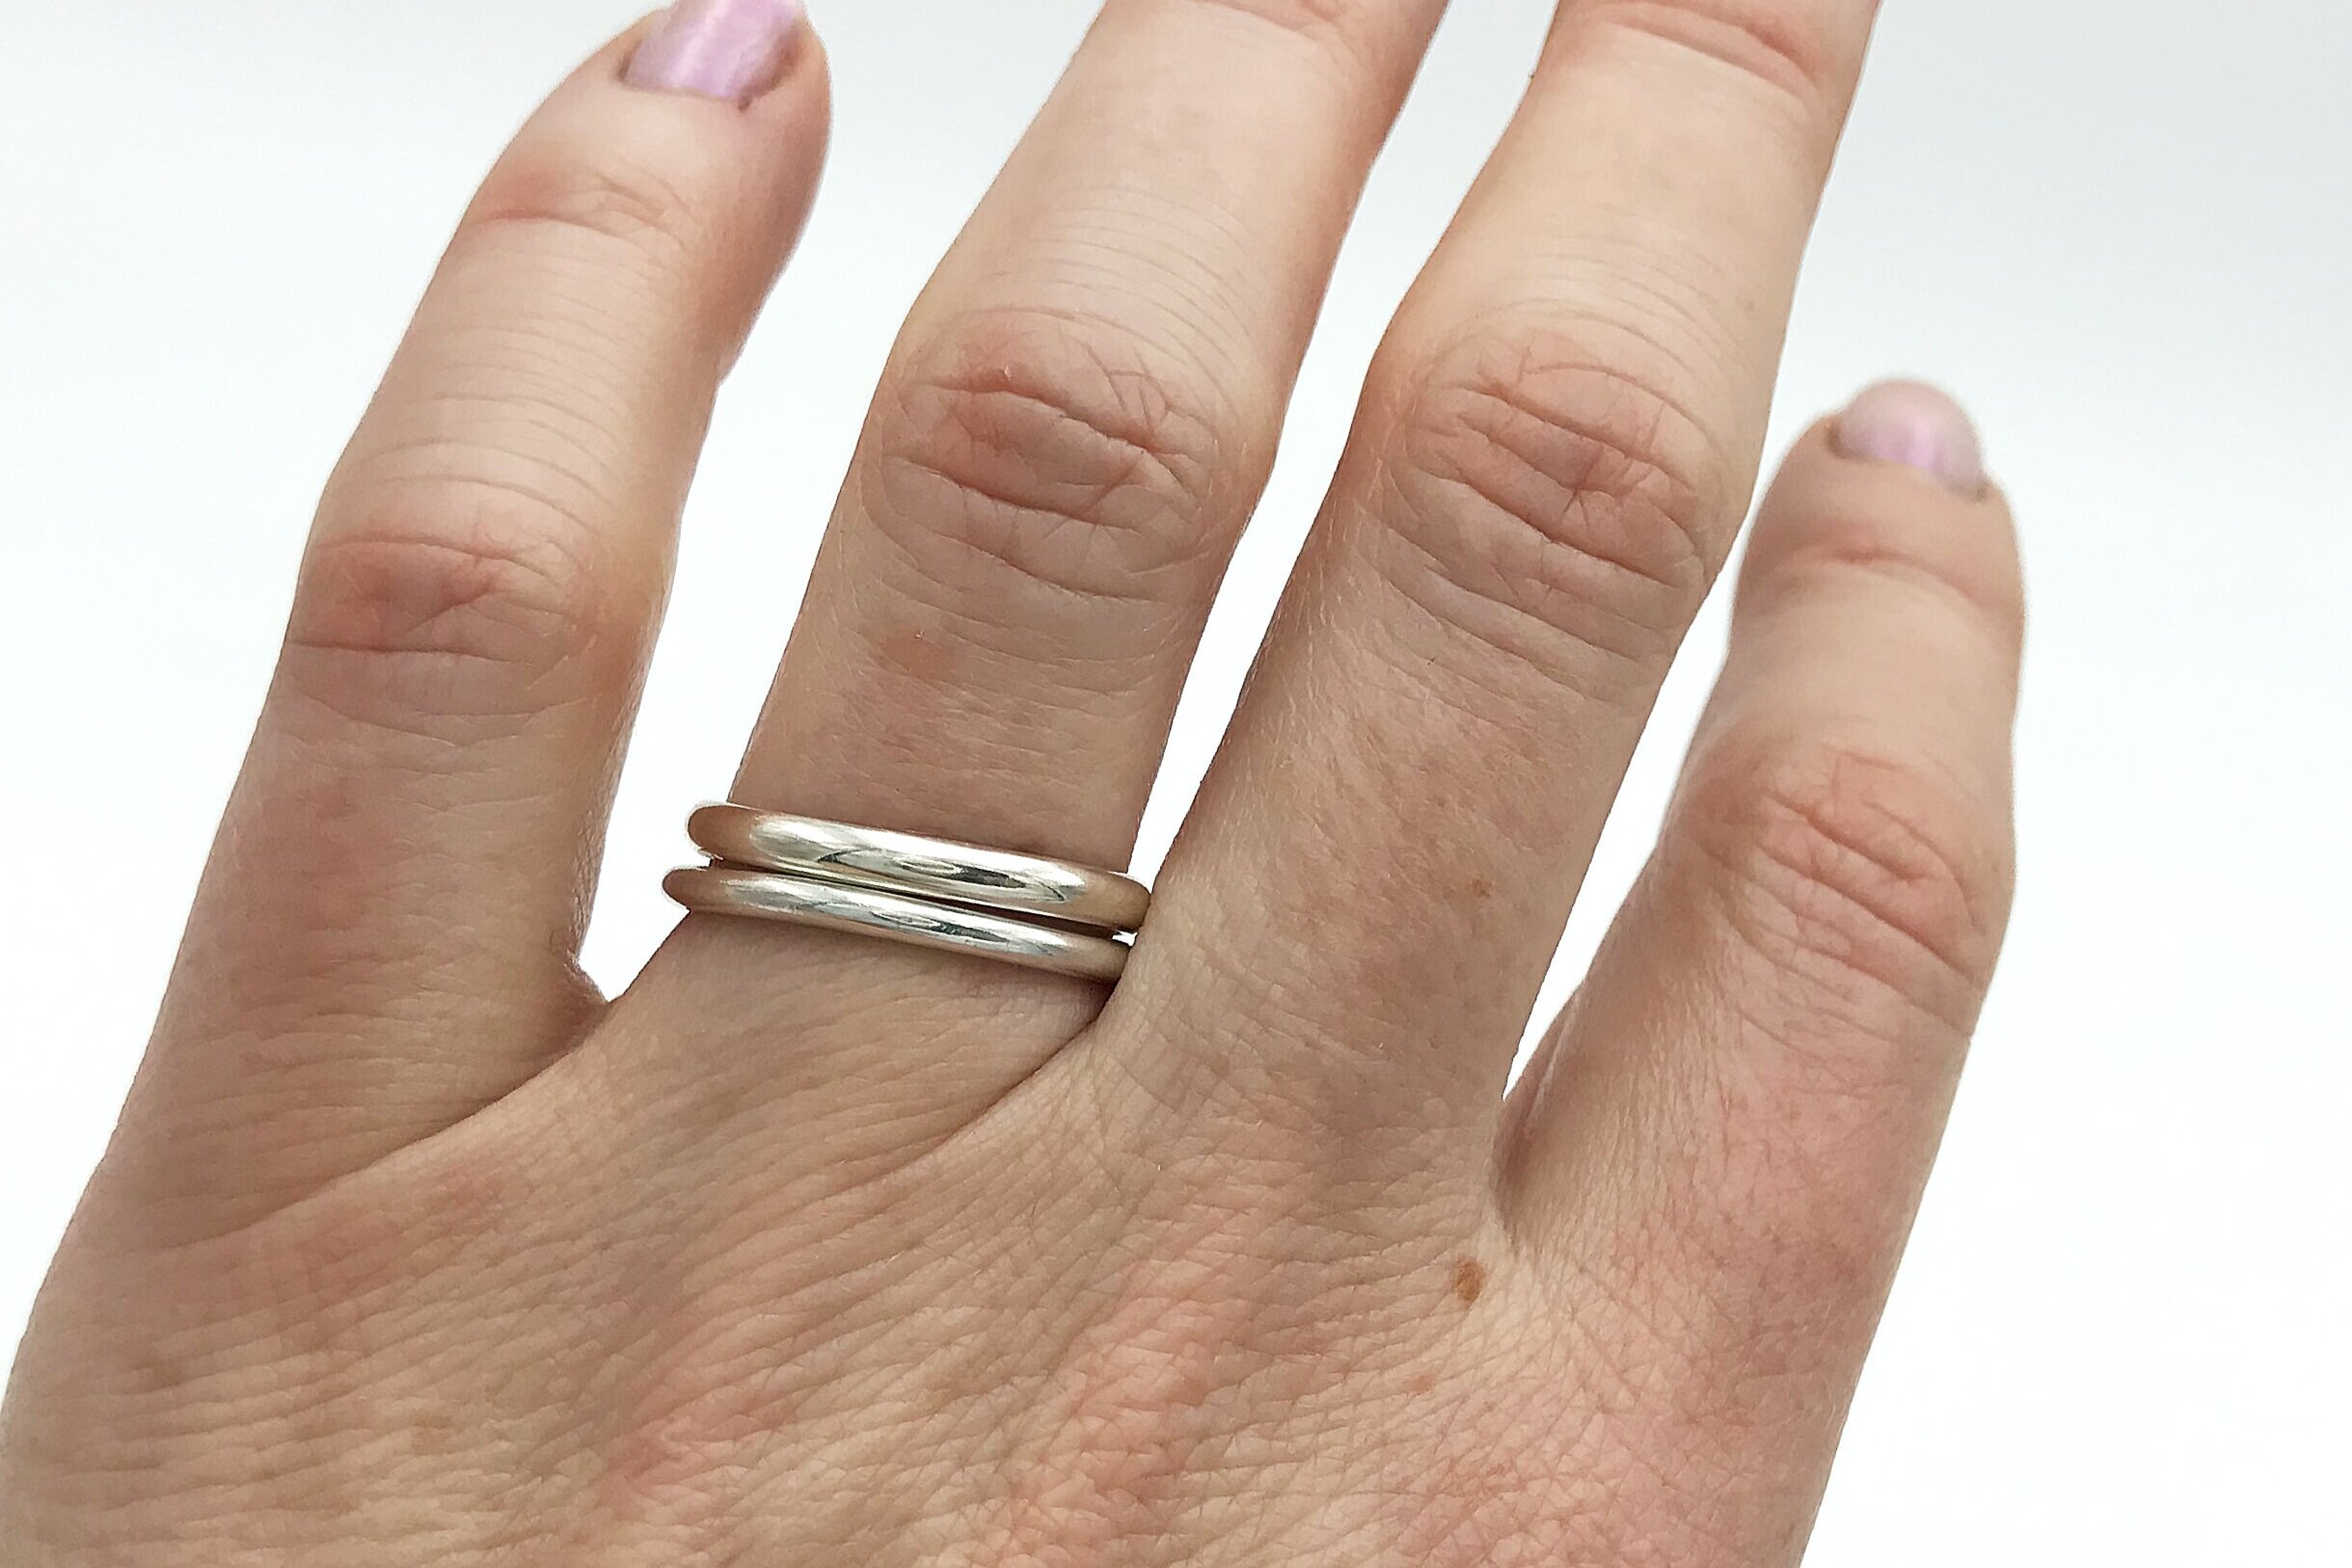
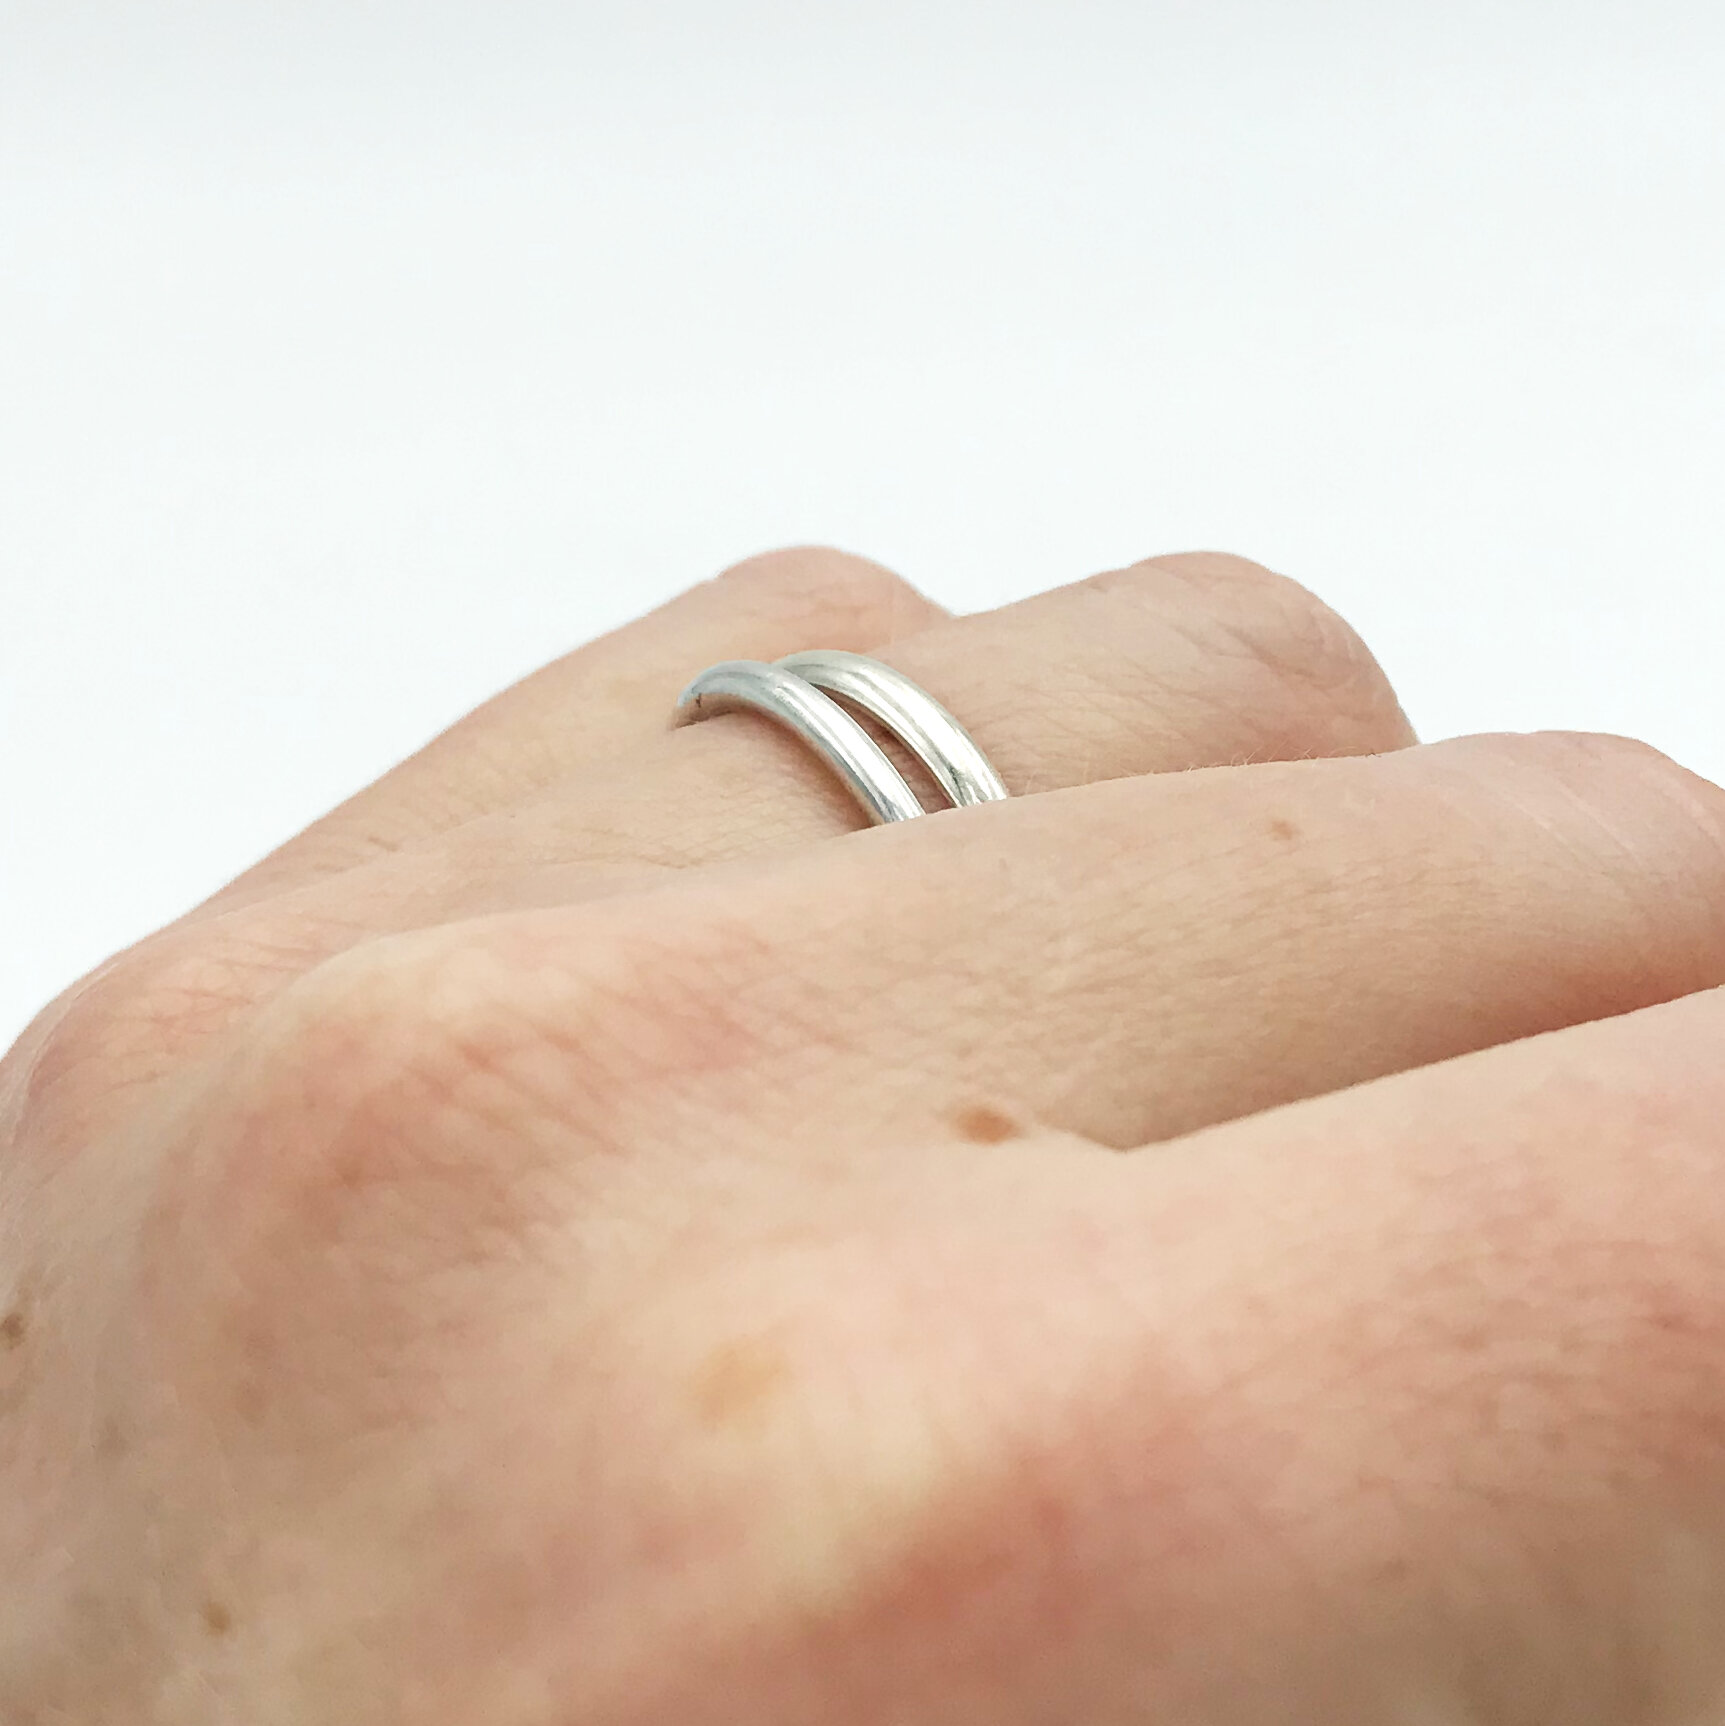
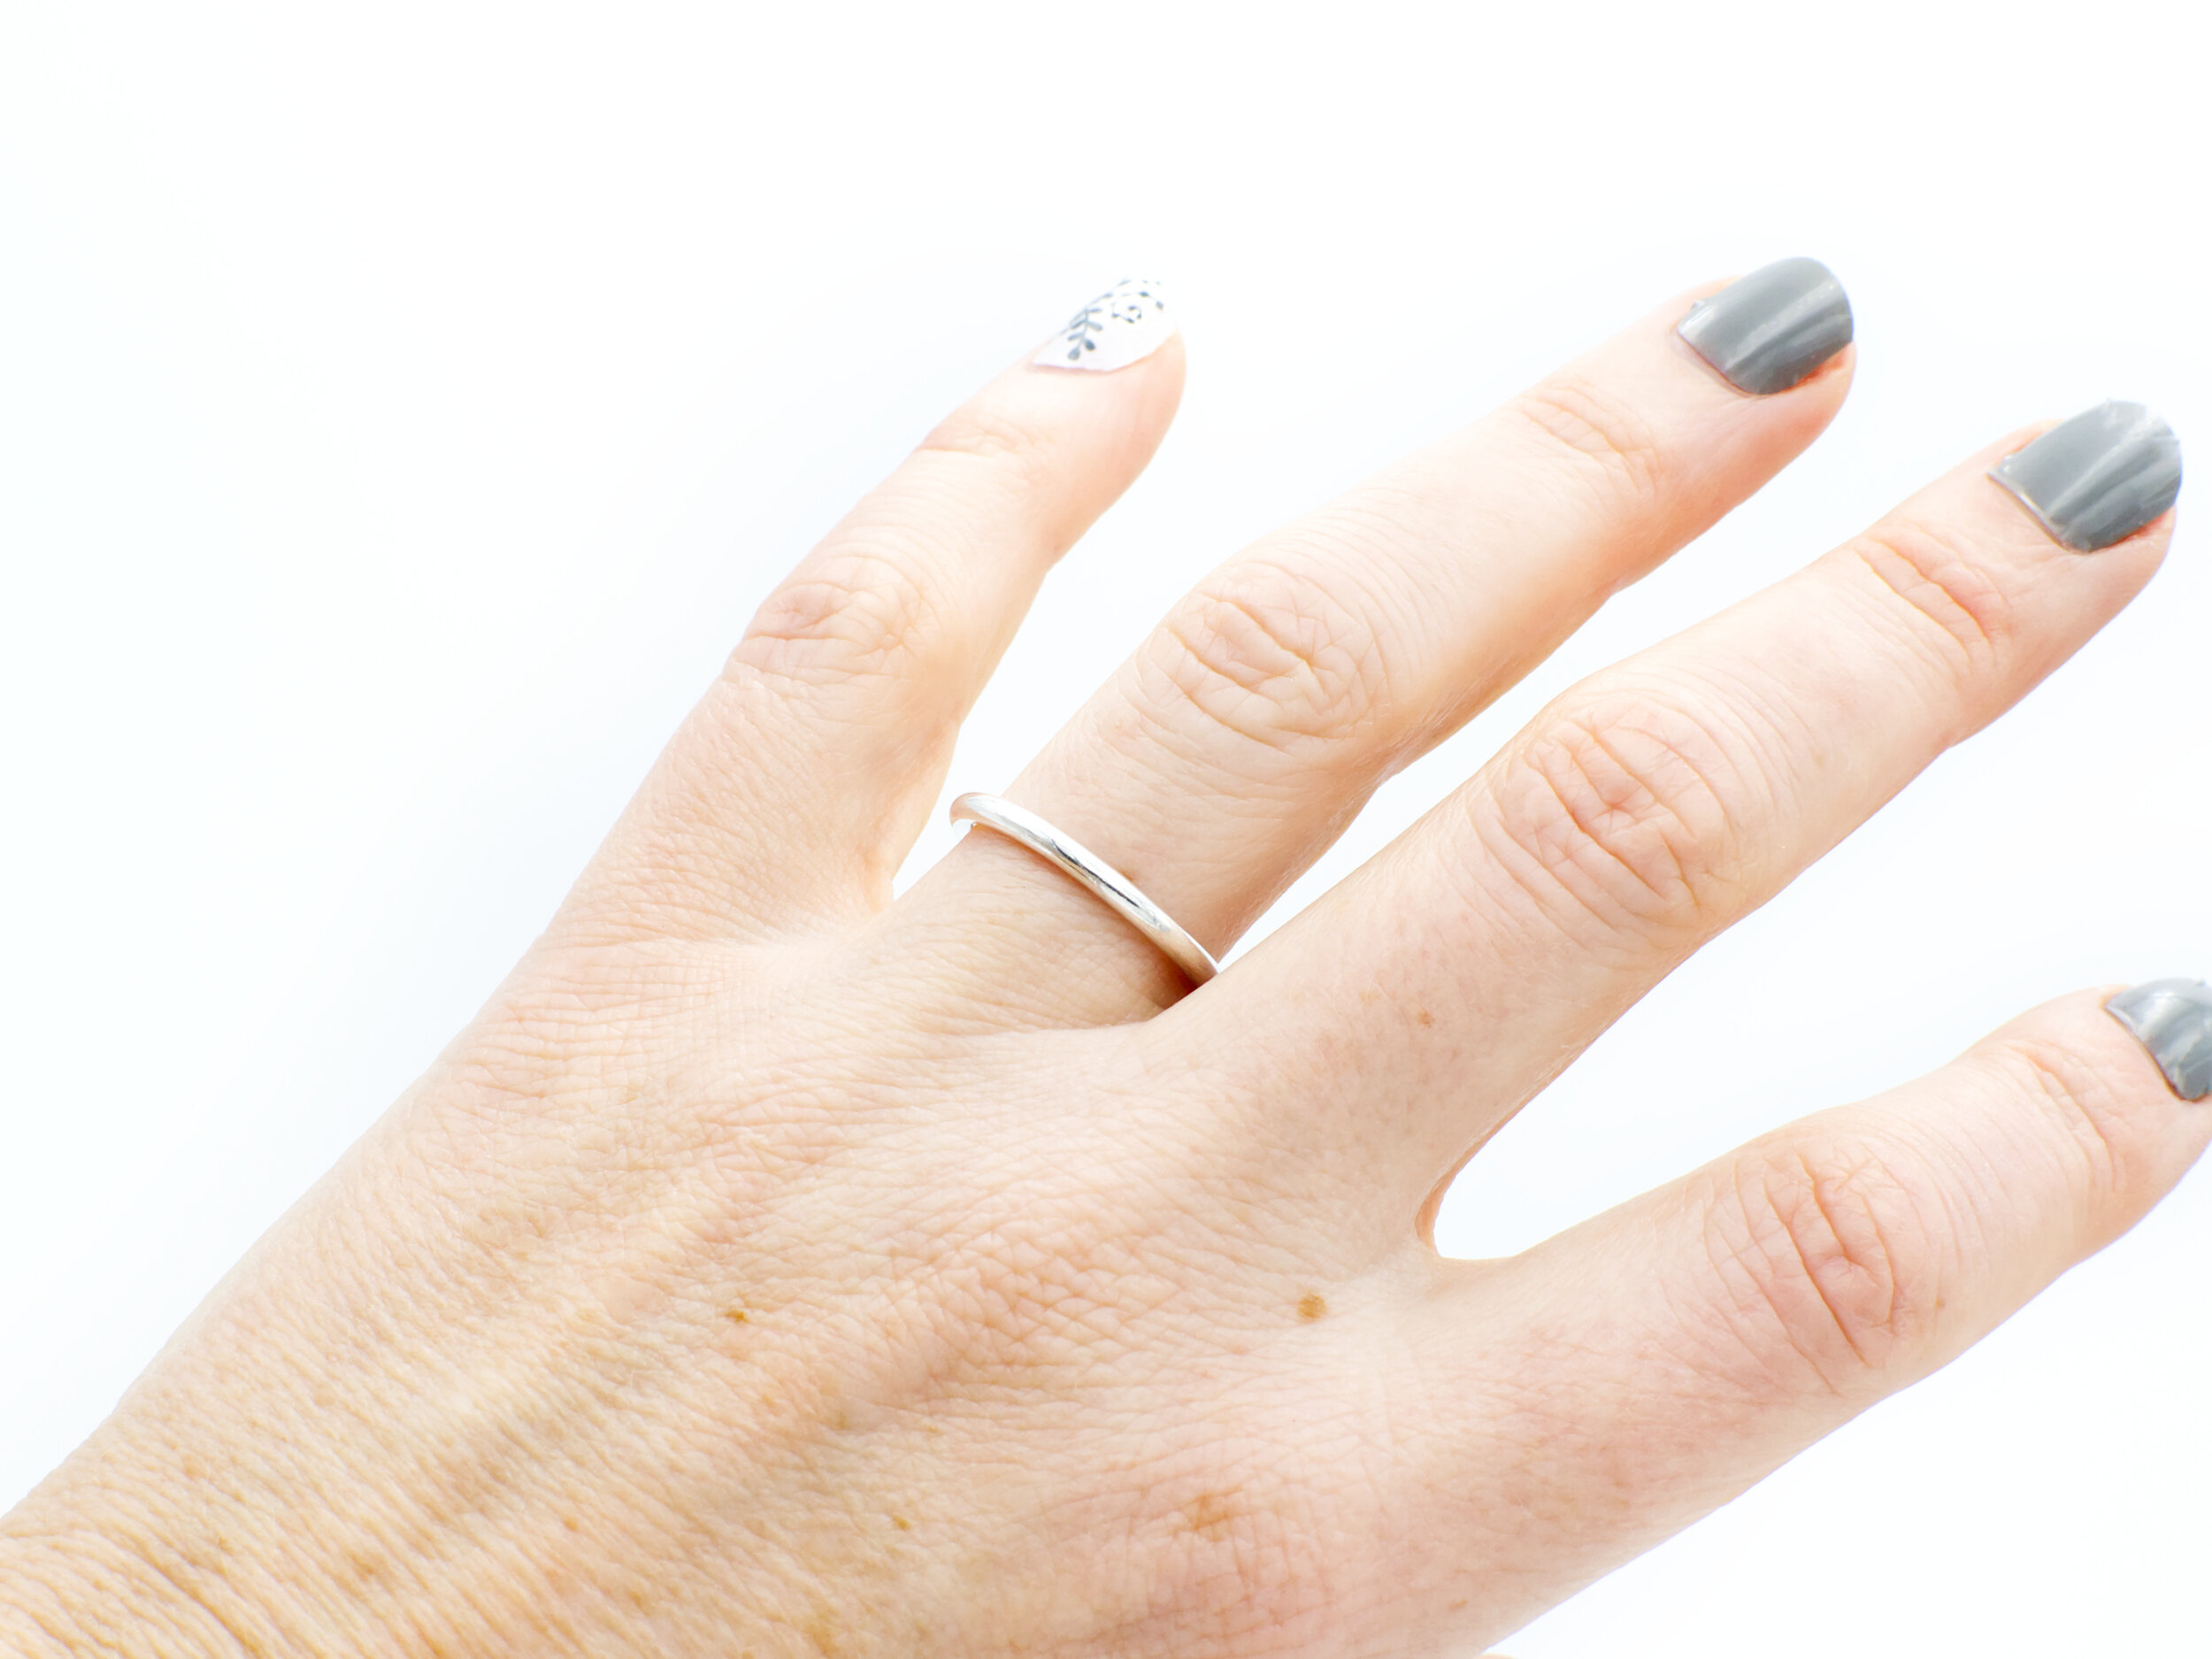
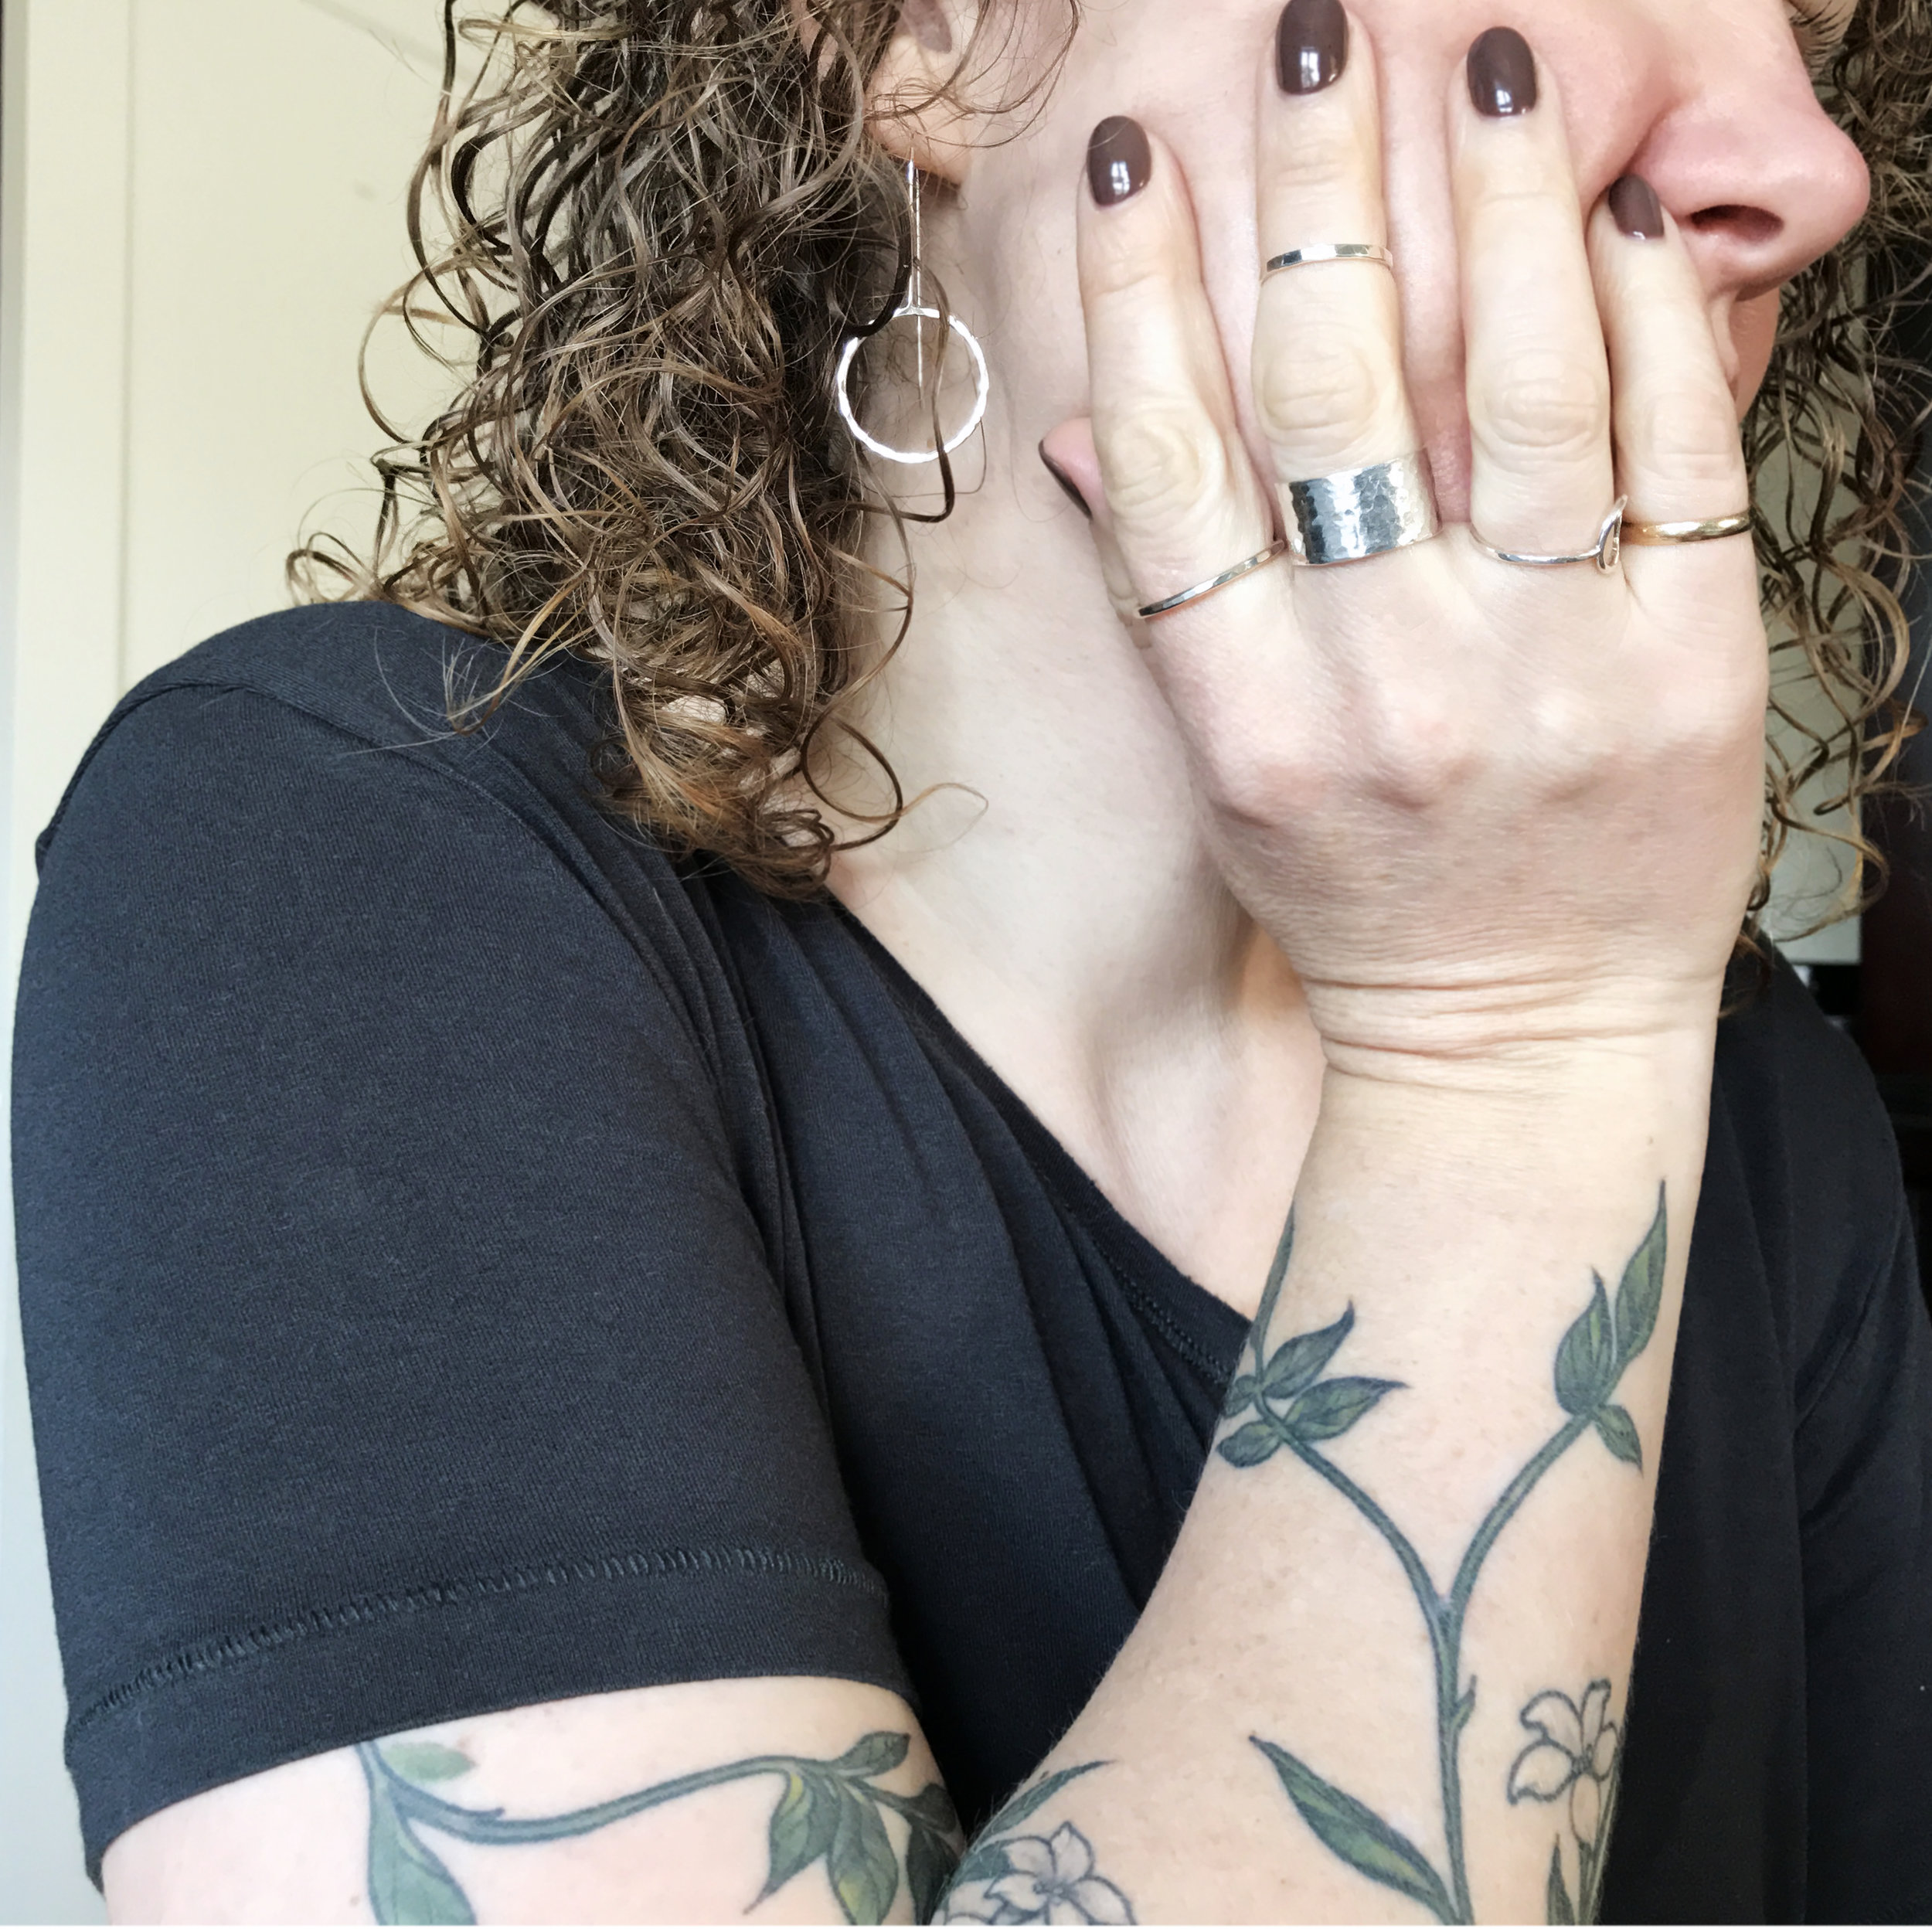
Sterling silver tarnishes.

That’s the story. But you can slow it down…

First, it yellows and looks not so great; then, it moves on to the black color we are most familiar with. Depending on your skin chemistry and climate, this can happen frustratingly rapidly. 


To slow down the tarnish process as much as possible:

  • Take off your jewelry anytime you get wet for an extended time (pool, shower, gym, etc.). You don’t have to be perfect; my jewelry stays on when I wash my hands during the day - yours can too. 

  • Really, really don’t go swimming in your jewelry. Really, really, pretty please. 

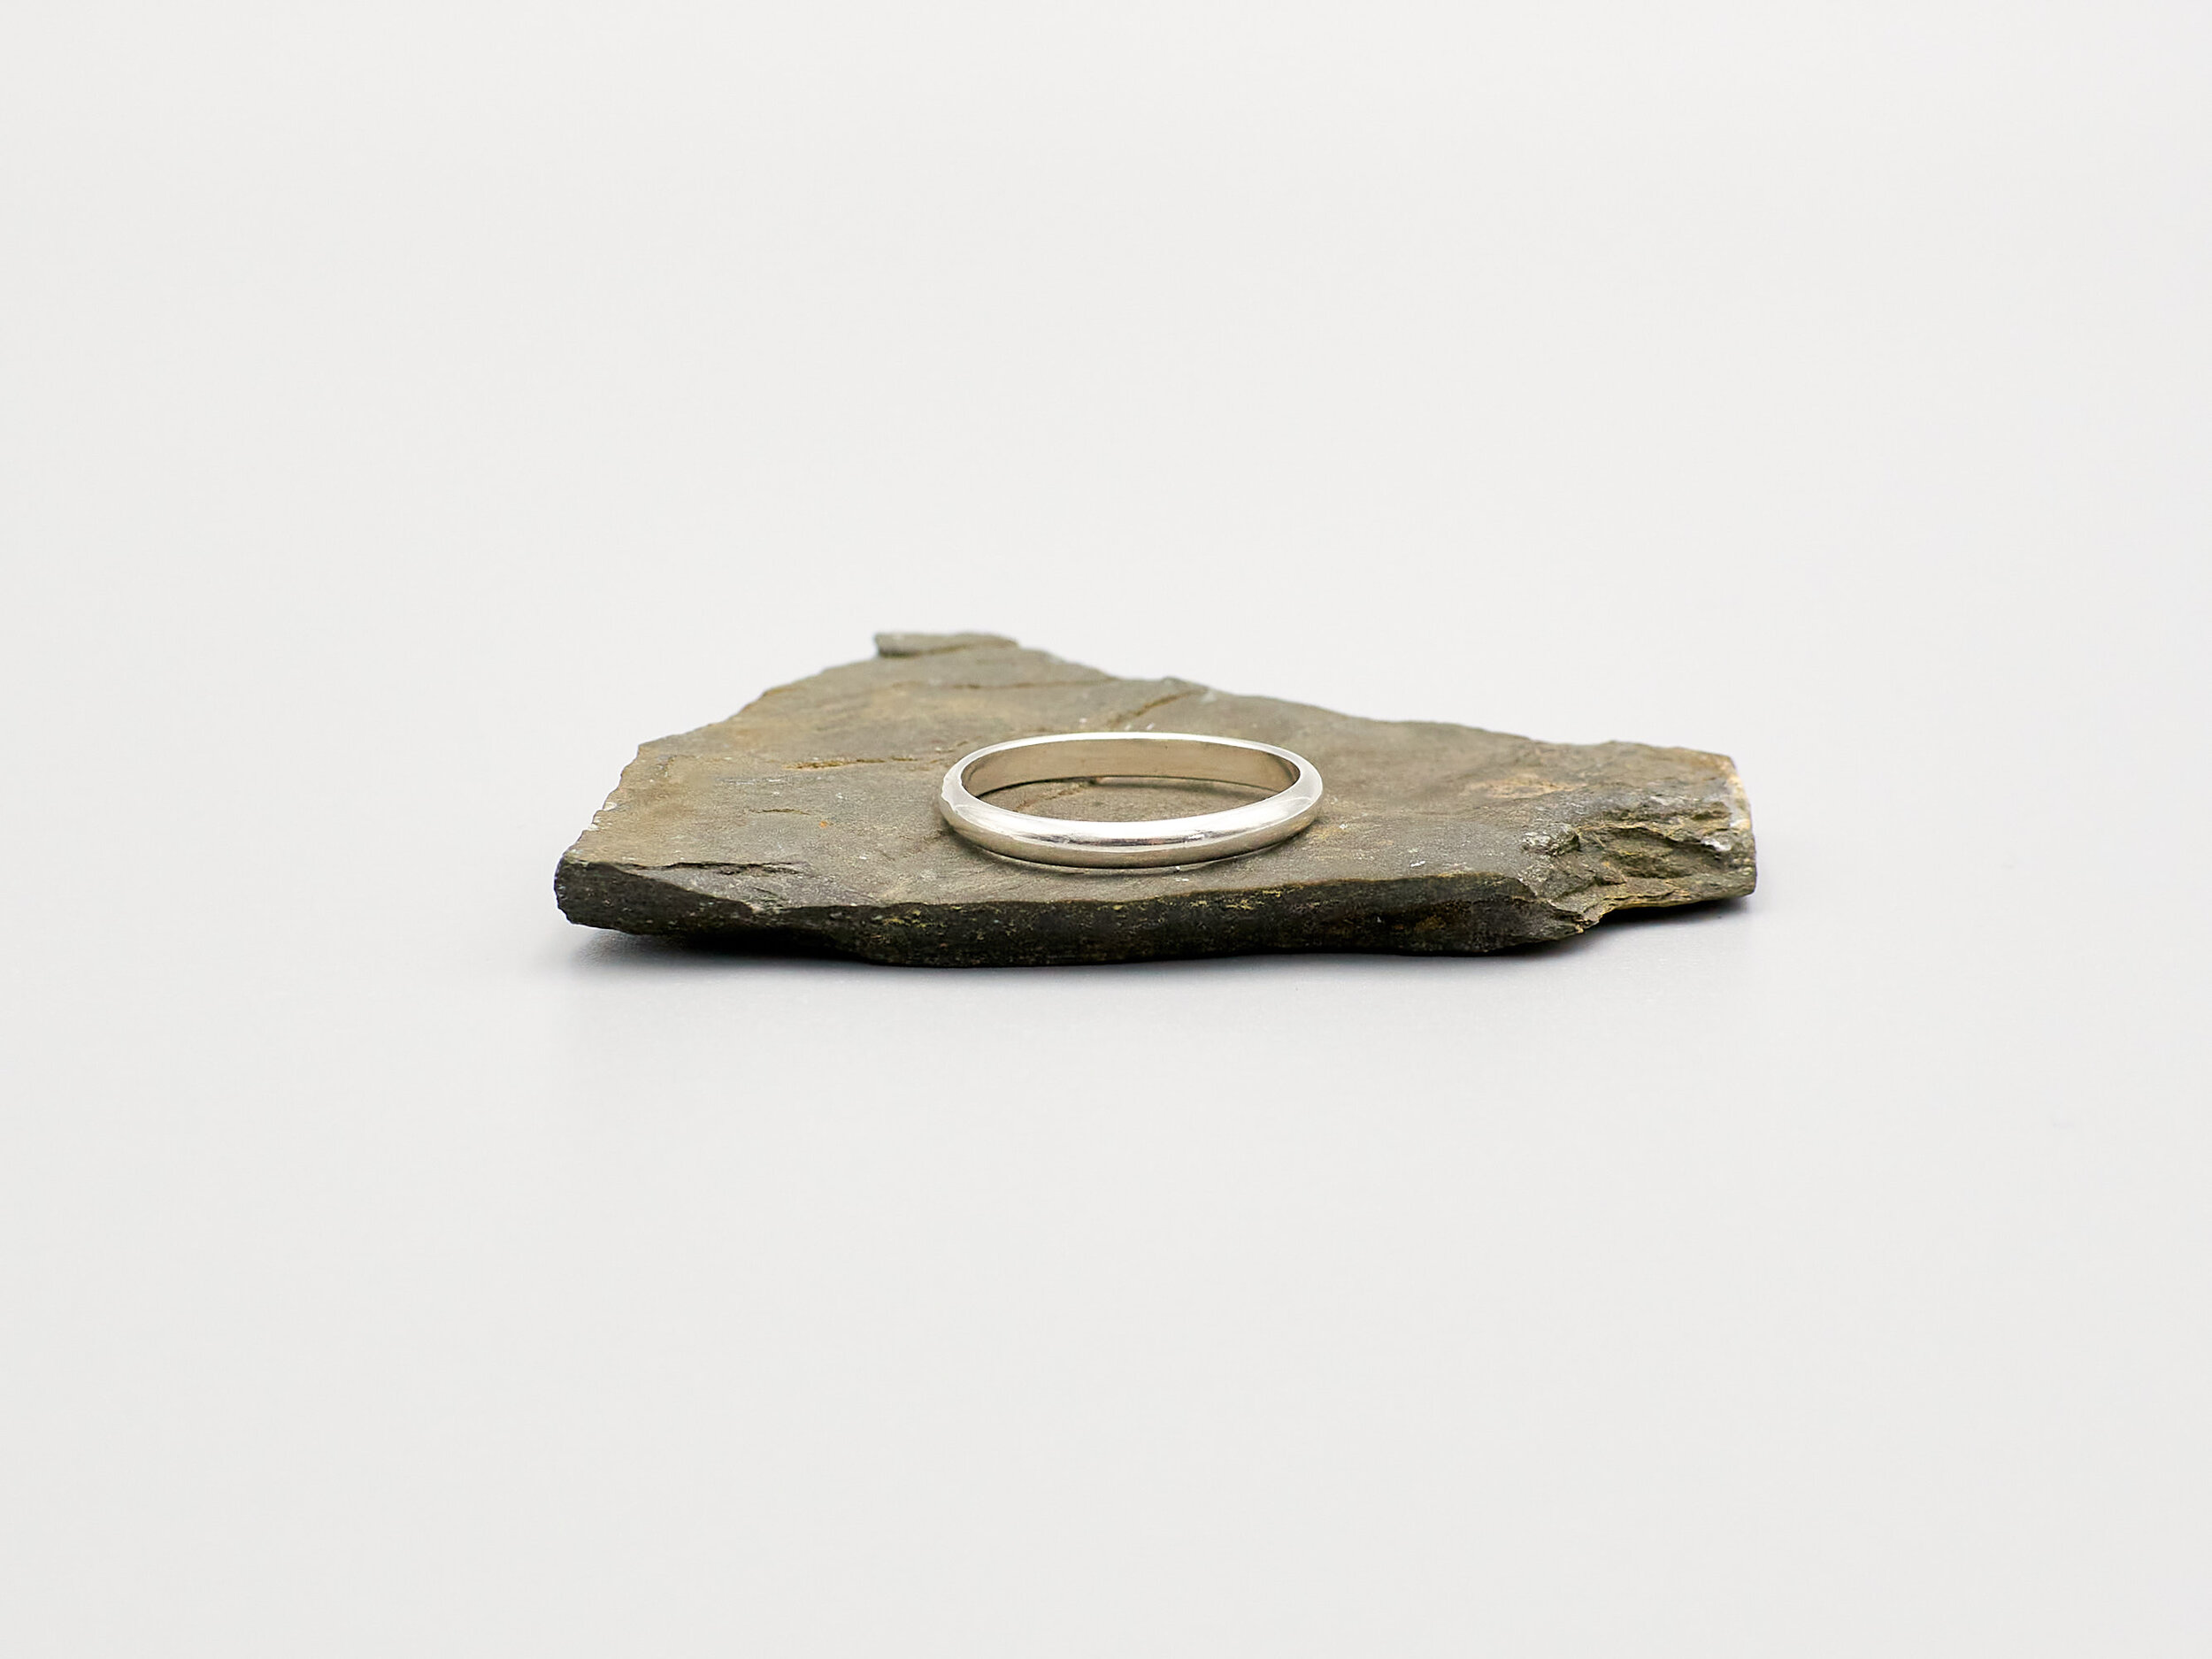
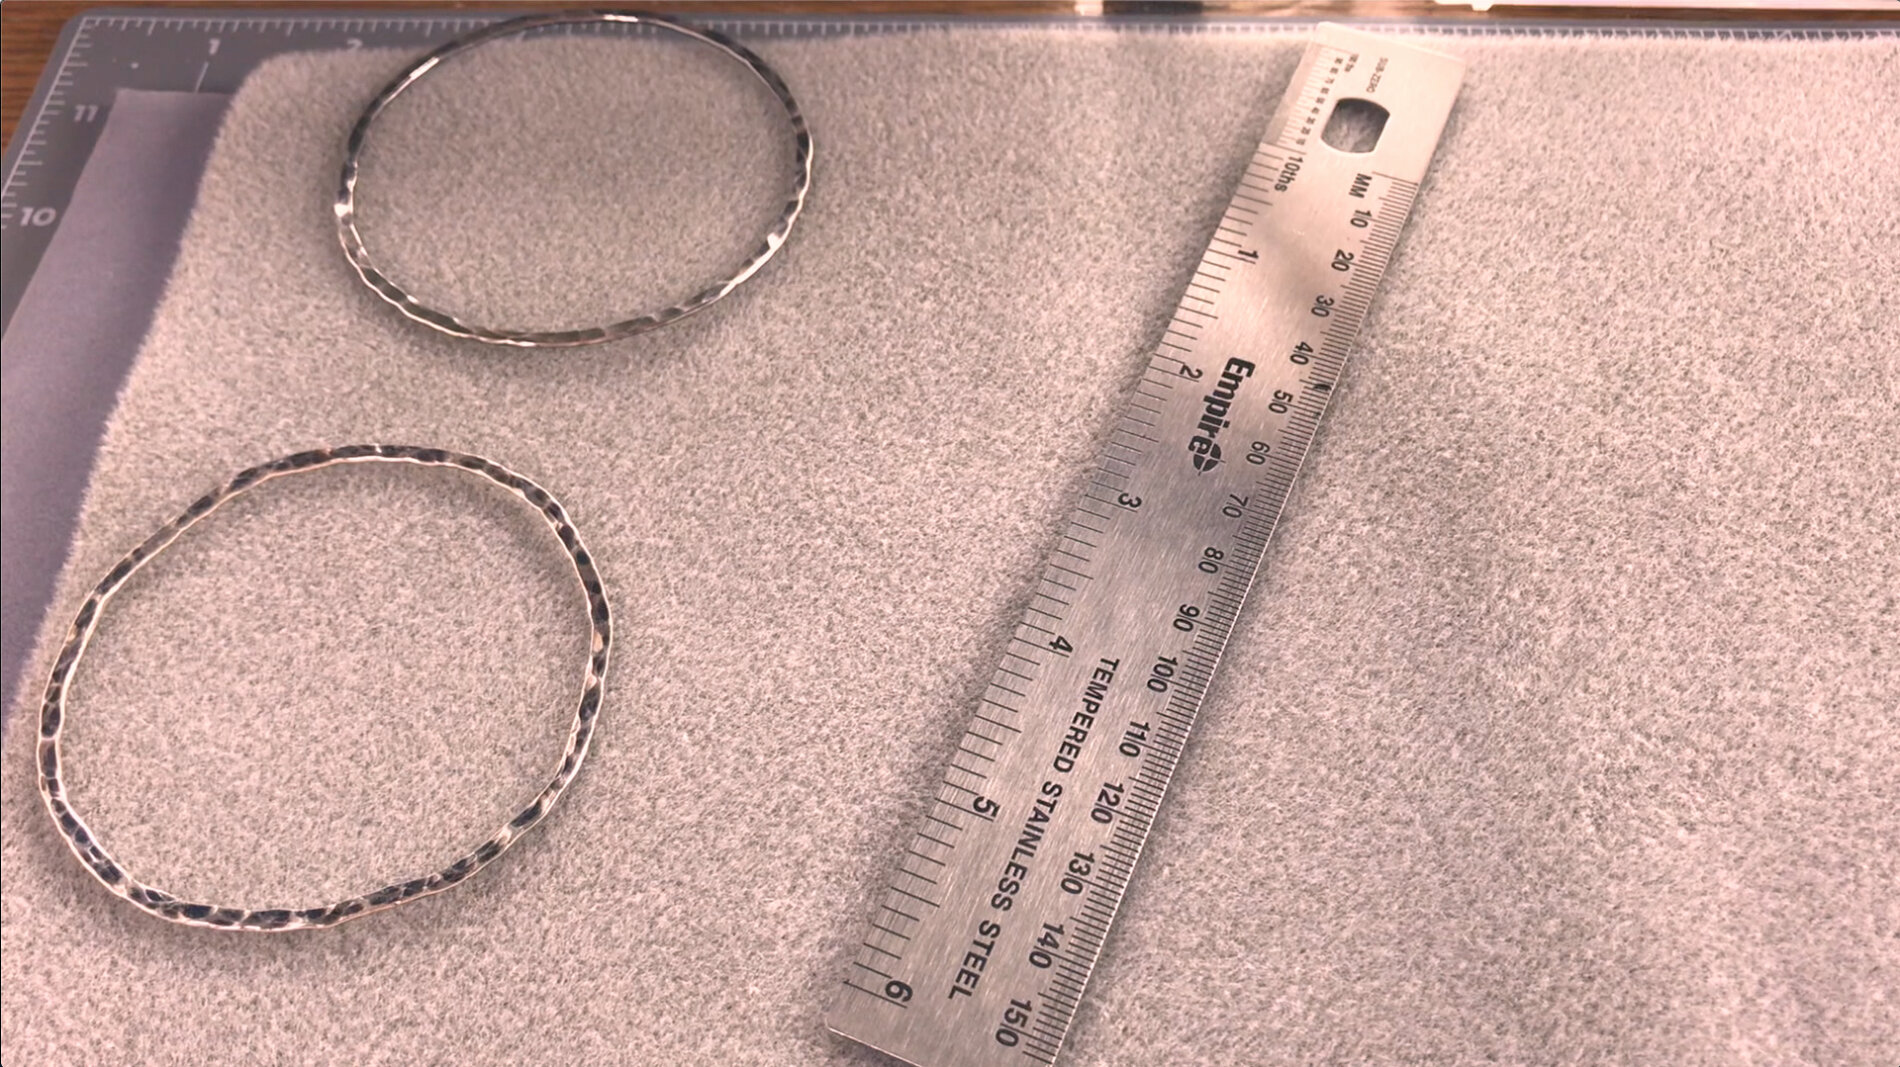
  • Store your sterling in an enclosed space. This doesn't have to be a fancy jewelry box. You can keep it in the ring box it came in - but take the puffy fill out. It seems to accelerate tarnishing. You can even store the jewelry in a little zip-top bag. (Yep, I sell bags here.) 

  • Store your jewelry with anti-tarnish strips. My shop has these (here), or they are available other places in large quantities. A couple in with the jewelry can make a real difference. You do need to replace these at least twice a year. Every 3 months would be better. And large packages will go bad even if they aren’t in with your jewelry (just in case you were eyeing that 200-pack thinking, “That’s year's worth!”)

  • Don't wear your jewelry to sleep

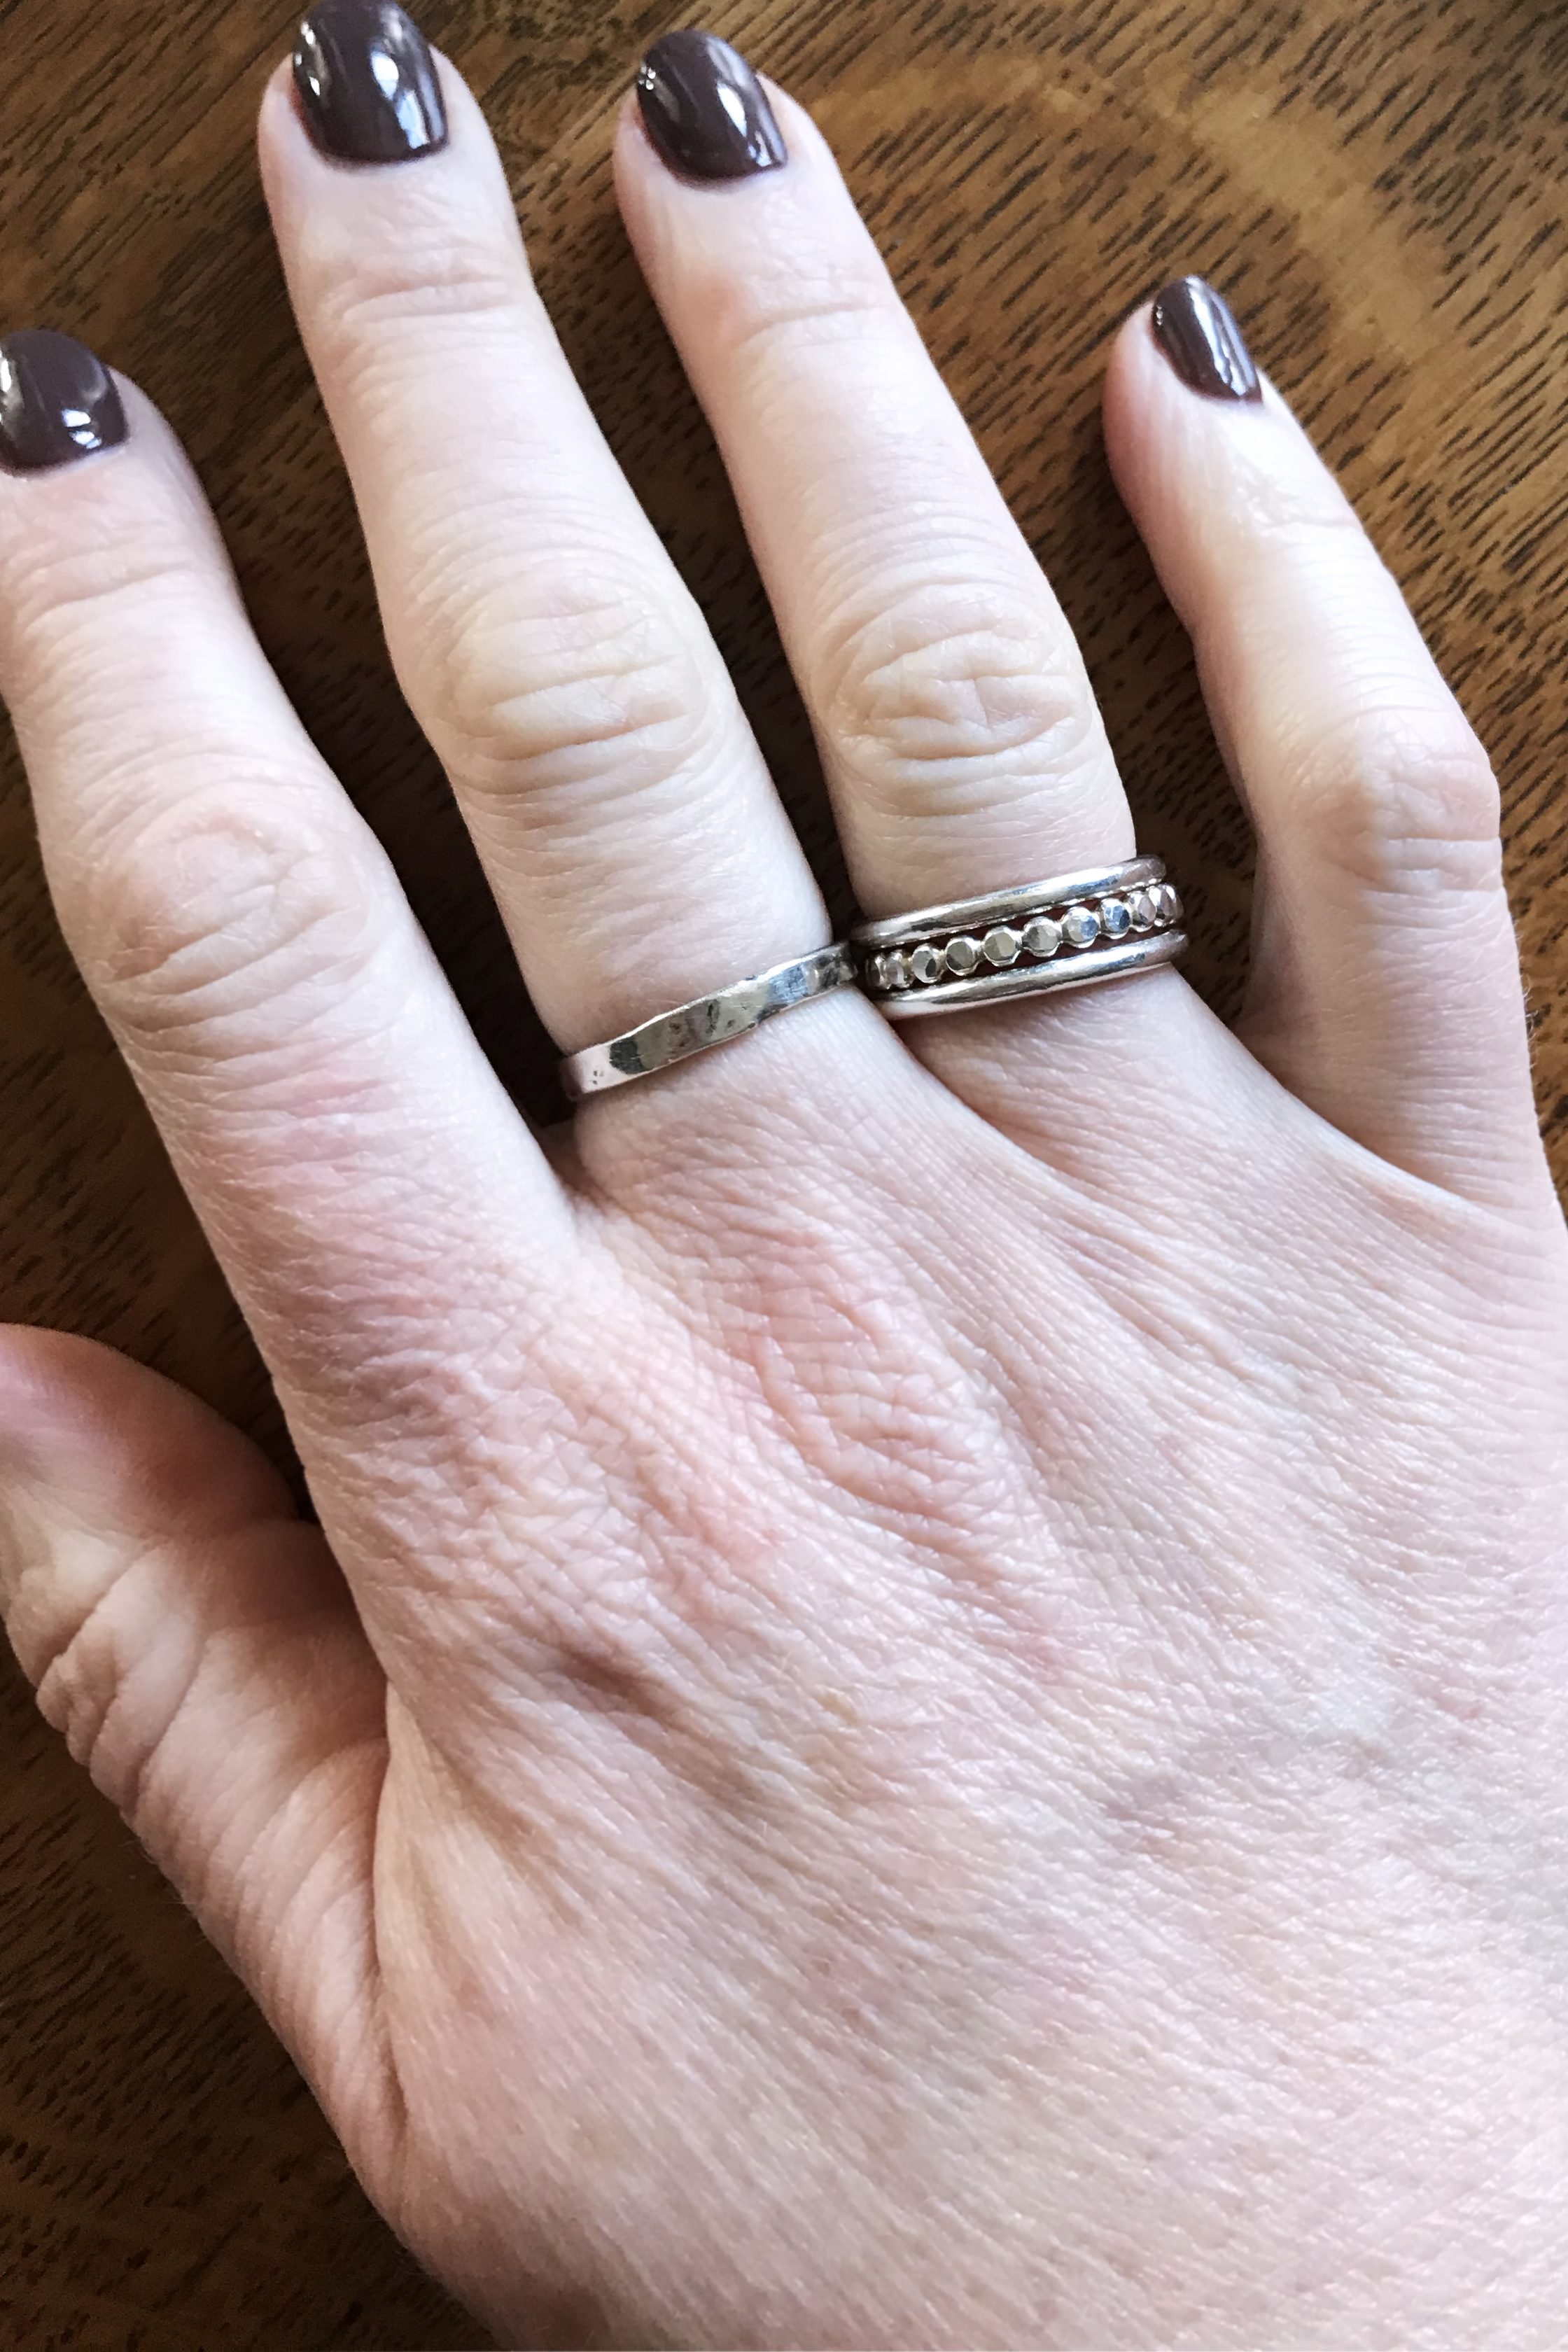
Once it is tarnished, there’s no getting around it - time to polish it.

You can rub down the silver with a jewelry polishing cloth periodically, which is what I do & I have an instructional video here (or, like, scroll down…), and I sell the cloth I use here.

Some coatings advertise keeping the tarnish away, but in my experience, they flake off and look really unappealing really rapidly, which is why I don't use them. 

Hopefully, this helps you keep your silver the way you like it for a bit longer.

Oh Hi. So I'm in Colorado now.

It’s been… a minute. The time that has passed between now and when we chatted about necklaces has been one of the more challenging of my life. But I am coming back to the things I do, and so there is a new post in the works. It is about the difference between solid, plated, and “fill” precious metal; particularly between plate and fill. They are really, really not the same. A tip for while you wait… don’t buy plate. It is just never worth the price hike - ever.

See you soon!

What Necklace Length Should I Choose?

Choosing a necklace length is perhaps not as fraught as ring size, but it can still be a little “Uh… I don’t know… THIS one.” I mean, it is pretty hard to order it so “wrong” that you can’t wear a necklace at all, but there are ways to do it better.

16”, 18”, 22”, 30” and 36” necklaces on 5’9” me.

16”, 18”, 22”, 30” and 36” necklaces on 5’9” me.

What should you think about when you are staring at the little dropdown with 16”, 18”, 20”, 24”, and 36” in it?

Firstly, any poppycock about specific necklace styles/lengths being certain body types should be roundly ignored. Smaller people can wear long necklaces, larger people can wear dainty necklaces, etc. Anyone saying anything else is spewing garbage.

Now that is out of the way…  Preferences and comfort and lifestyle.

You hear me say this a lot, and I am going to repeat it here: 

The number 1 thing that matters is what you like on you 

14”, 16”, 18” and 20” Necklaces on 5’9” me. Notice how the 14” touches my neck. Yucky.

14”, 16”, 18” and 20” Necklaces on 5’9” me. Notice how the 14” touches my neck. Yucky.

Not what is in style, not what the model is wearing, not what some magazine says is the thing for the season. What do you like? Most regular jewelry wearers have a favorite length necklace length. Whatever necklace you wear the most - Its length is almost certainly part of the reason you wear it often (conversely, the reason you might have one you love but rarely wear - just not the right length). Most of mine are between 16” and 18”. But I have one or two longer ones for layering and because I like them (I rarely wear them, because see above). So measure that favorite. Consider that your goto length.

Next: Comfort!

It doesn’t matter how “in” chokers are; if you hate having something touch your neck, chokers are not for you.

Hi. My name is Joanne, and I hate things touching my neck…ahem...

True chokers touch your neck, long necklaces swing around and get caught on things, 20”-24” tend to get caught in shirt collars and disappear… You might not care, or it might drive you crazy.  Think about this when choosing how many inches from that dropdown. If you buy a length that’s uncomfortable for you, you won’t wear it no matter how much you “love it”. Trust me, I have many chokers that never see the light of day.

Finally: What kind of lifestyle do you live?

Being slightly dramatic in one of my favorite necklaces for everyday - 16” dainty circle necklace.

Being slightly dramatic in one of my favorite necklaces for everyday - 16” dainty circle necklace.

Are you a desk dweller? Pretty much whatever goes then in terms of necklace length working with your day. Almost any other job -- Work in retail, UPS driver, Yoga teacher, Parent to a small child... Long necklaces will get in the way. That is just the way it is I am afraid. Do you love them? Well, then get one! You just might not get to wear it every day.

A 16” - 20” inch necklace works great for most lifestyles - short enough to stay out of the way, long enough to hold a pendant or wear alone.


One last thing to note is that the necklace’s length can change its look and impact. A simple long chain necklace (say opera length at 36”) can sort of disappear even if it is quite chunky. That same chain at 16” (a chokerish size) can make quite an impact.

How to Find Your Ring Size At Home

Ordering rings online can be racked with fear - am I getting the right size?!?!?!?

If you know your size - awesome. But really most of us don’t - not even I know the size of every finger. There are all sorts of tips online to find your size at home, most involving paper or string. I find those to be quite tricky and they feel like you need about 3 hands.

This is my solution, it seems to work well and is pretty straight forward. Check it out and let me know what you think? Happy ring sizing (and shopping!)

How to Measure for a Bangle Bracelet

I make custom bangle bracelets because I have big hands. I can’t get bangles in the store - they won’t go on. As usual, one size doesn’t fit all (duh.)

But how big should the bracelet be?

Well, here is a little video explainer to help you figure it out (steps written below for the non-video or watching at work people - yep, I see you needing a break at work. Me too).

Okay, get ready, here are the steps:

1) Hold the ruler across the inside of your hand at the base of your fingers.

2) How many inches or centimeters is your hand from edge to edge?

3) Tell me that number.

That's it! You will get the right size bangle. Ta-Da. bracelet

There is, of course, a note - if you are getting a bracelet from me and it is a secret gift for someone, and you measured a bracelet they already have that you know they like, tell me in a note because the math I do will be slightly different. Otherwise, sit back and wait for your perfect bangle bracelet to arrive.


Looking for a match anything, perfectly size silver bangle bracelet?

Yep, I make those custom to order (yes the ones in the video). You can find it in my Etsy shop right here. Go check it out!

How to wear a lot of rings, AKA The ring stack blog

Exhibit A: So many stacking rings - yes these are all mine and yes, they all get worn.

Exhibit A: So many stacking rings - yes these are all mine and yes, they all get worn.

Stacking Rings - I wear them all the time. Not always stacked.

Why? They are low profile rings that look great without getting in the way of busy/business running/artist/mom life.

I have a really stupid number of them (see exhibit A to the left) and I slip on whichever I feel like and go for the day.

I was recently asked how I pick rings to wear together and I thought “I should post about that” so here we go.

How to build your ring stack:

sterlingsilverrings.jpg
  1. Have a unifying element like color or texture (e.g. all silver rings)

  2. Think about your day - would tall rings be in the way? Will you be holding something that would make a thick ring uncomfortable?

  3. Wear odd numbers together. So 1 or 3 or 5 rings on a single finger (I know, weird right? But it works).

  4. Decide which fingers you would like to wear rings on. Don’t be afraid to stack one finger then wear a single ring on another (a gemstone ring even).

  5. Most important: like what you see and put on the rings!

Seriously that is it. It is so tempting to overthink this - “Oh my gosh how to do I get the perfect boho, I am wearing 13 rings on 4 fingers, look”? Don’t worry - I know you are panicking. Alway remember the most important rule: Do you look down and think “I like it”? If so, you have made the perfect ring stack.

And because I know you are just looking for ideas in picture form… some options:


1: Buy a set, be done

You can buy a set like this one making it straight forward. Don’t be afraid to break the set up. Wear just one, or three. You can find many, many on Etsy. Most makers also sell single rings so you can build your own set. Just be aware there is often a price break when you buy a set. (Like me, ahem. Click the image to see this set).


2: Build your own

Ok here is where you get a pile of examples. Many of these are built from the rings featured in the set above, separated and mixed with other rings from my collection. I tend to like rings on my middle two fingers, but sometimes I add more.

3: Most importantly HAVE FUN!

Yes I am shouting at you. This is not something to sit there staring at your hand wondering if you “got it right” because the secret is there is no “right”. Do you look at your hand and think “I like that”? If so, you have it right.

Happy ring stacking!

How to polish your silver jewelry

You got yourself a little polishing cloth at the jewelry store. But you think it doesn't work very well? The problem might be that no one taught you how to use that cloth.

There are really only 3 things to remember and actually, it is really better if I just show you… (tips below if you want to skip the 4-minute video).

To review:

  1. Rest the hand holding your jewelry on a table (not up in the air)

  2. Rub one side at a time, with medium pressure (so not so hard you can’t hold your hand up, but enough that you feel the pressure.)

  3. Go s_l_o_w_l_y. This is a take your time activity, not for when you are racing out the door.

That is seriously it. After you are done, you probably want to wash your jewelry in warm water and soap. Also your hands; if the polishing is going well you probably have grubby fingers.

If you did all that and it doesn’t seem to make a difference you might have a crappy cloth. Sorry. A lot of them are. The one I use in the video is widely available, including from me (in my Etsy shop).

Give it a try and let me know how it goes!